Crepes for Breakfast! Crepes for Dinner! Crepes for Dessert!

This recipe is in my mom's (very distinctive) handwriting, which probably explains why it is the most clear and concise recipe I've made from the box so far. Also it's written on the back of a piece of stationery from the beauty supply store where she bought all of her hair products back when she was a hair stylist, which is... well, to be expected, I guess. Now, I think I need to explain how I feel about crepes before we start this recipe.

I lived in France for a year. I got married in France. I eat a Nutella crepe every time I see a stand in Edinburgh selling them. But I have never attempted to make them before finding this recipe, convinced they'd be too difficult for me to handle.

Plus, I don't have one of those wooden squeegee things that the creperies in Paris use to make sure each super-thin pancake is perfectly round and of perfect, uniform thickness. Luckily for me, it turns out you don't need a wooden squeegee or a degree from Le Cordon Bleu. What tempted me out of crepe-related timidity? Pancake Day.

I had never heard of Pancake Day before this year (how did I miss this last year?), but it's basically just Mardi Gras. Pancake Day celebrates the last day before Ash Wednesday, the start of Lent and a season of major self-sacrifice, if you're into that sort of thing.

As an incredibly devout Catholic, Eleanor was really into Lent. I don't know the kinds of things she'd give up, but my mom still talks about Fish Fridays when she was growing up, and in a box of family photos I went through to make this site, I found at least a half dozen Catholic funeral cards and a card for the “patron saint of traffic” that Eleanor carried in her wallet. Proof positive she would've been into Pancake Day, if only they celebrated it in mid-twentieth century central Florida.

So how are these two things linked, you may be asking? Well... in Britain (where celebration of Pancake Day is so widespread that grocery store signs boast of stocking “ALL YOUR PANCAKE DAY NEEDS”), Pancake Day is a big deal and pancakes here are actually crepes. So I figured Pancake Day was as good a time as any to debut this recipe.

Oh, also: maple syrup pretty much doesn't exist here in Scotland-- if you find it, it'll be in a specialty grocer and it costs more than my monthly cell phone bill. Plus, you don't eat maple syrup on crepes. But since this entire project is focused on blending Eleanor's life with mine, I figured I'd serve the crepes the way that people eat them here: with lemon and sugar.

If there is a way that the whole “lemon and sugar” thing is supposed to be done, please don't tell me. We just squeezed lemon halves over our crepes and then sprinkled a spoonful of white sugar over them. As far as I was concerned, this was a far inferior substitute for Nutella (though delicious in its own right, I'll grudgingly admit), but Judson, whose tastes, inexplicably, do not run toward chocolate hazelnut spreads, loved it.

Anyway, the crepes were amazing! I conquered my crepe fear! I want to make nothing but crepes for the rest of time! People will be so impressed with my breakfast skills! I'll have to set up a waiting list for next year's Pancake Day because guests will be coming from far and wide to taste my crepes! Half-credit goes to my mom, for writing an incredibly specific and clear recipe, and 25% credit goes to Judson, who took all the pictures so I could focus on spreading the batter in the pan.

Some important crepe notes:

  • The recipe says to use an iron skillet, and while I'm sure that would make it more legit, it would also make them (probably) far more likely to stick. If you're as inexperienced as I am, use a non-stick pan, preferably in the exact size that you want your crepes to be.

  • Don't skimp on the butter! Make sure you brush a little melted butter into the pan before every crepe. It turns out the butter in the pan is what gives crepes that really beautiful marbled texture. We tried with and without (when I forgot it), and if you skip the butter the crepes just look like pancakes (BORING!).

  • We got exactly 8 crepes out of this recipe, and they were on the small-ish side (because that is the size of our pan). If you're feeding more than 2 people, I would scale the recipe up.

  • I used a small gravy ladle, filled ¾ full for each crepe. When you pour the batter into the pan, pour it directly into the center of the pan, then IMMEDIATELY swirl the pan to spread the batter. You want the last few drops of batter to cover the last remaining bit of your pan-- it shouldn't be thick like a pancake.

  • We ate these for dinner because Pancake Day is a Tuesday, but they'd be great for either breakfast or a très chic dessert.

The Verdict:

5 Spoons out of five! Try this soon and you'll be in awe of your own cooking skills. (Or don't try it and consult me about tickets to the Pancake Day breakfast I'm already planning for 2016). ;)

The Recipe:

Basic Crepes

THE INGREDIENTS:

½ c unsifted all-purpose flour
2 tbsp butter, melted and cooled plus additional for brushing the pan
1 egg plus 1 yolk
¾ c milk
Garnish as desired with butter and sugar (Judson's favourite), Nutella (my favourite), apricot jam (if you're feeling French), lemon and sugar (if you're feeling British), or whatever else your heart desires.

The Directions:

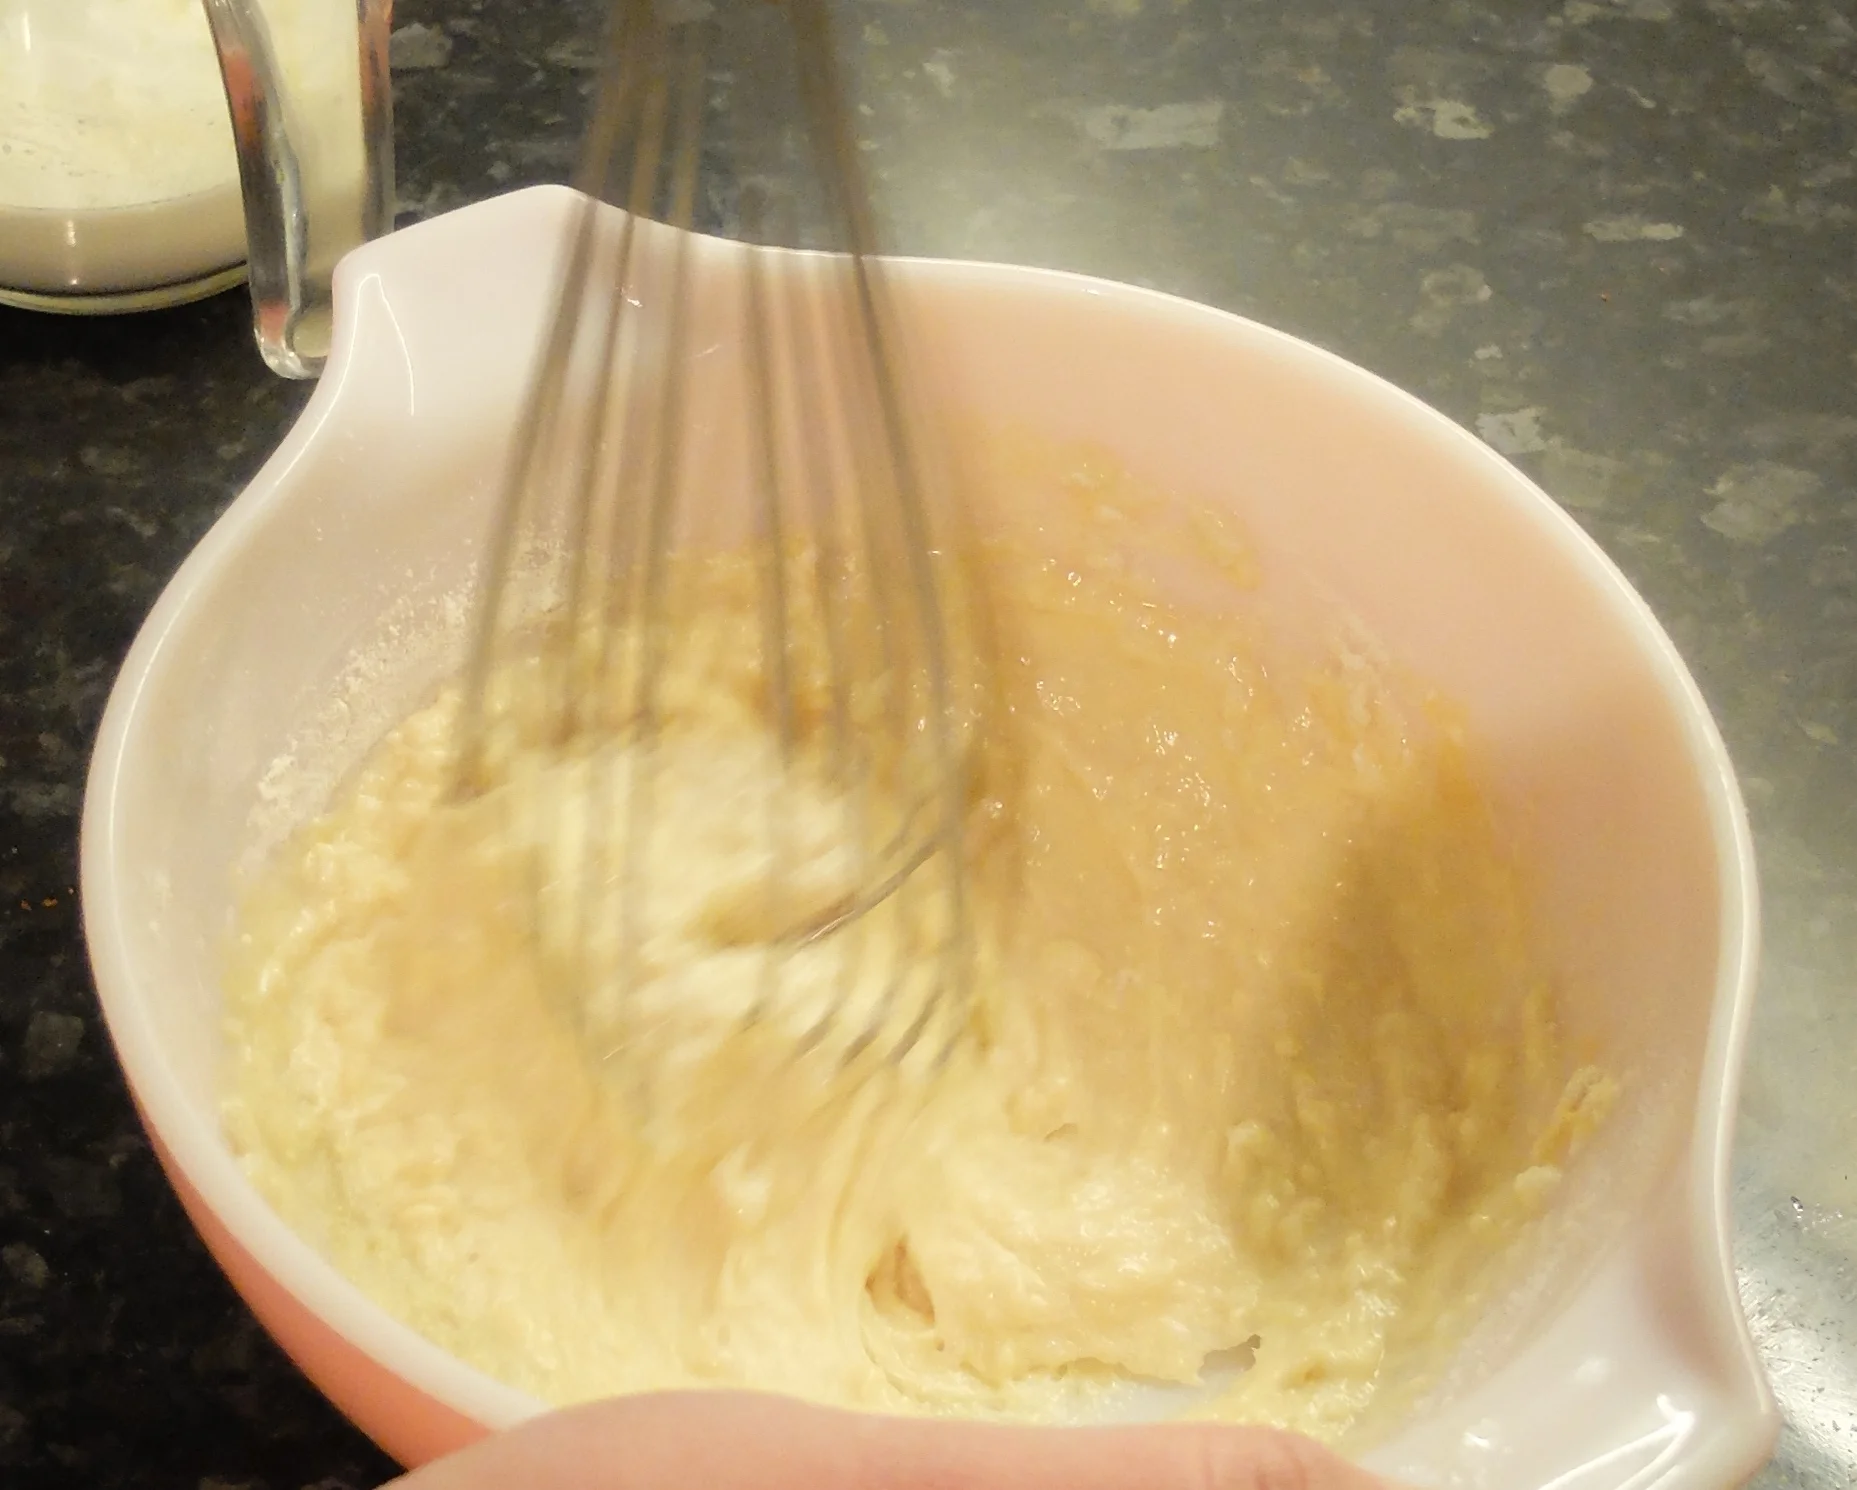
In small bowl, combine flour, melted and cooled butter, egg and yolk.
Add milk gradually, mixing all the while until very smooth.
Refrigerate, covered, for at least 30 minutes.
Slowly heat a non-stick pan until a drop of water sizzles and rolls off.
Preheat oven to 300F/150C.
For each crepe, brush pan with lightly with butter.
Using a small ladle or something similar, pour about 2 tbsp batter into pan, rotating pan quickly to spread batter completely over bottom.
Cook until lightly browned, then flip with a spatula and brown on the other side.*
Turn out on wire rack or cookie sheet and keep warm in oven until all crepes are done.

Best eaten fresh, but stack with waxed paper between every two crepes if not eating for several hours.

*When bubbles start to form at the edges and the very rim of the crepe begins to pull away from the pan, it's ready to flip. This only takes 30-45 seconds per crepe, so keep an eye on things.

Makes about 8 crepes-- enough for 2 people as a meal, or more if being used as dessert.

Old-Time Chocolate Cake with Fudge Frosting

“Oh no, this is a dire situation. Once she starts thinking about birthday cake, she's basically useless until she gets birthday cake.”
--Parks and Recreation Season 6, Episode 6 ("The Filibuster")

Quiz: what do these six things have in common?
A) Clothes
B) Fragrances
C) Massages
D) Mimosas
E) Fine leather goods
F) Chocolate cake

Answer: They are all things you should treat yourself to at least one day of the year.

This week, one of the Cowan family's favourite TV shows, Parks & Recreation, ended. We've been moping about it all week and had to put off watching the finale until last night (because of the time change and a really busy week), so to cheer us up on what would have otherwise been a pretty sad evening, I decided it was time to treat ourselves to... what else? Chocolate cake.

I think Leslie Knope would wholeheartedly approve. So, while we didn't have any Snakejuice, we did pour out a glass of wine in honour of the town of Pawnee while we ate what turned out to be a pretty awesome cake.

This recipe is from May 1959, a fact I know because the date is printed at the bottom of the leaflet. The cake (and its frosting) come from something called The Woman's Day Kitchen Collector's Cook Book #28: Chocolate Cakes and Frostings. It appears to be pages 50-56 of the May 1959 issue of Woman's Day, and it's retro and kitschy and printed on manila paper. I don't know why Eleanor ever thought she'd need this many chocolate cake recipes, but I guess when you have two little kids (like she did back then) you have to prepare for anything. I wanted a pretty straightforward chocolate cake with chocolate frosting for our finale-watching, so I went with something called “Old-Time Chocolate Cake with Fudge Frosting.”

The cake is good, but it's really small and doesn't rise much-- this was perfect for us, because I didn't need a giant layer cake, but if you're making this for a party, you might want to double the batch and make it as a layer cake. It's deliciously soft though (because of the cake flour), and it somehow manages to be both moist and lightweight. The description under the recipe notes that this cake is “square, dark in color,” but I didn't find it to be particularly dark... and it's only square if you bake it in a square pan, obviously.

I thought the frosting would be incredibly difficult, since it involves boiling (and a candy thermometer, if you have one), but it ended up being pretty easy to follow and remarkably forgiving, since I had no idea what I was doing. Also, let's be honest here, halfway through making the frosting, I realised I don't have a candy thermometer, so I was going to have to boil the frosting until it reached “the soft ball stage.” But I have no idea what that means, so I googled it. Do you understand? I googled the phrase “soft ball frosting.”

For the love of all things holy, don't make the same mistake I did, or if you do, at least think through your search terms a little better than I did. Let me just explain to you instead what “soft ball stage” means: basically, when you're boiling your frosting, have a small bowl of cold water next to you at the ready. It needs to be a bowl (not a glass or a mug) so you can reach inside it. After your frosting has been boiling for a few minutes, drop a bit of it into the cold water, then reach in and scoop out the frosting. If it forms a soft ball in your hand while underwater, then flattens out and kind of drips away when you take it out of the water, that's soft ball stage. (If you have a candy thermometer, it's 232F/111C.)

I made a lot of substitutions in both the cake and the frosting this time around: I didn't have cake flour, so I made my own by adding cornstarch to all-purpose flour (noted in the recipe). I also can't ever find buttermilk in the UK, so I made my own by combining lemon juice and milk and letting it sit for 5 minutes. And, as discussed elsewhere, I can't find corn syrup in Scotland, so I used golden syrup instead in the frosting.

Oh, also: this is obviously supposed to be a square cake, but I didn't have a plate big enough to hold the square cake, and I thought to myself “I wonder why no one makes triangular cakes?” so I cut mine on the diagonal and layered the two pieces with frosting between them, thinking I was clever. I was not clever. YOU try coming up with a way to slice a triangular cake that makes any sense whatsoever. If you make this, just let it be a square.


The verdict:

4 Spoons out of 5. It's delicious, the frosting tastes fudge-y and creamy, and it is set off nicely by the pillow-y crumb of the cake. Make it next time you need a no-particular-occasion pick-me-up and I can guarantee you: you'll be converted to the ways of Treating Yo' Self. It doesn't rise very much, though, so it's a little too unattractive for taking to a party.

THE RECIPE:

Old-Time Chocolate Cake with Fudge Frosting

The Ingredients:
Cake:

2 squares unsweetened baking chocolate (2 oz)
¼ c butter
½ c boiling water
1 c sugar
1 egg, beaten
1 c all-purpose flour
2 tbsp cornstarch/cornflour
½ tsp baking soda
¼ tsp salt
¼ c buttermilk
½ tsp vanilla


Frosting:

2 squares unsweetened baking chocolate (2 oz)
1 ½ c sugar
½ c milk
¼ c butter
1 tbsp corn syrup/golden syrup
½ tsp salt
1 tsp vanilla

THE DIRECTIONS:
CAKE:

Preheat oven to 350F/176C and prepare an 8x8 square pan by lining the bottom with parchment paper.
Melt chocolate and butter in the microwave, checking and stirring every 10 seconds.
Pour butter/chocolate mix into a medium mixing bowl and add boiling water.
Mix well and let cool for at least 5 minutes until it's very warm but not hot.
Add sugar, mix well.
Stir in egg.
Sift flour, baking soda, and salt together and add them, then the buttermilk and vanilla, mixing well.
Batter will be very runny.
Pour into prepared pan and bake 20-25 minutes, until a knife inserted in the center comes out clean.
Let cool and frost as desired.

FROSTING:

Note: This frosting takes quite awhile to cool, so you can make it as soon as you remove the cake from the oven and they should both be ready to use at the same time.

Combine all ingredients except vanilla in a saucepan.
Bring to boil.
Cook, stirring constantly, until mixture reaches “soft ball stage” (see above), or 232F/111C on a candy thermometer.
Pour into mixing bowl and allow to cool completely (this takes at least an hour).
Add vanilla once cool and beat to spreading consistency.
Frost cake as desired.

Chocolate Drop Cookies, or, Homemade Oreos

I'm starting to hear Eleanor in my head when I cook her recipes. But Eleanor, although awesome, was not a kindly, mild-mannered grandmother. She was brash and opinionated (but fiercely loyal), and so far that's exactly how I'm hearing her in my head. While baking these cookies I could hear her gravelly smoker's voice almost like she was in the room with me, snapping at me in a thick New York accent while she lit a cigarette: “put the cookies farther apart, what are you, stupid!?”

But... I live in Scotland, I have a tiny oven (so tiny the cookware we brought from America when we moved here doesn't even fit in the oven), even tinier cookie sheets, and I didn't want to be stuck in the kitchen all afternoon cooking them only 3 at a time, so I disobeyed Eleanor's orders and crammed the batter in medium-sized balls as close as I could on each of my two cookie sheets.

Bad idea. The moral of this story is that your grandmother DOES know best, even if she's a figment of your imagination and lives only in your head. Little did I know how much these dumb cookies would expand.

After the first tray came out of the oven and the cookies had expanded so much that the tray looked like a pan of brownies, I came to my senses and started scooping smaller balls. The next batch came out fine, so it was no big deal in the end, especially once I tasted the cookies. These are exactly what I imagine a homemade Oreo would taste like (aka delicious). The chopped nuts give them a delicate crisp texture without being overly crumbly or dry, and because they are made with melted chocolate instead of cocoa powder, they have an actual chocolatey-ness to them that I always think is missing in chocolate cookies. The texture is the perfect balance of chewy and crispy, and because they're fairly thin, you can eat as many as you want without feeling guilty!... or maybe that last part is just me. I'm already fantasising about making them this summer to use as the base of homemade ice cream sandwiches-- yum!

The Verdict:

3 Spoons out of five. They're delicious, but they spread so much while they cook that in my (admittedly tiny European) oven, I had to cook them three or four at a time. Even using two sheets, that meant 4 batches for the 30-ish cookies I got, which is kind of a pain. Also, have I mentioned how much I hate melting chocolate? I'd still make them again, though-- especially once ice cream season rolls around.

The recipe:

Chocolate Drop Cookies

The Ingredients:

3 oz baking chocolate (if you have American-style baking chocolate, this is 3 squares)
1 cup sugar
½ cup butter, melted
1 egg, slightly beaten
1 ½ cups sifted flour
½ tsp baking soda
½ tsp salt
½ cup milk
1 tsp vanilla
½ cup finely chopped nuts of your choice (I used a mix of blanched almonds and brazil nuts)
12 sliced brazil nuts

THE DIRECTIONS:

Grease two cookie sheets and preheat oven to 350F/176C.
Melt chocolate by putting in a small bowl and microwaving for 10-sec intervals until smooth, stirring well after each interval.
Set aside to let cool.
Mix together sugar, melted butter, and egg in a medium-sized mixing bowl.
Add flour, baking soda, and salt, alternately adding milk after each ingredient.
Stir in melted chocolate, vanilla, and chopped nuts, stirring well to ensure uniform texture and consistency.
Using the smallest spoon you have, drop 1-inch balls of batter onto prepared cookie sheets, at least 2-3 inches apart.*
Press a slice of brazil nut into the top of each cookie and bake for 12 minutes or until edges are slightly darker than middles of each cookie.
Let stand on cookie sheet for 1-2 minutes before moving to cooling rack.

*Per my experience, you seriously do not want these bigger than 1 inch. I used a slightly rounded teaspoon to scoop the batter with after the first batch expanded to cover the entire cookie sheet and my cookies were “normal” cookie sized-- about 3 inches across.

Makes 24-30