
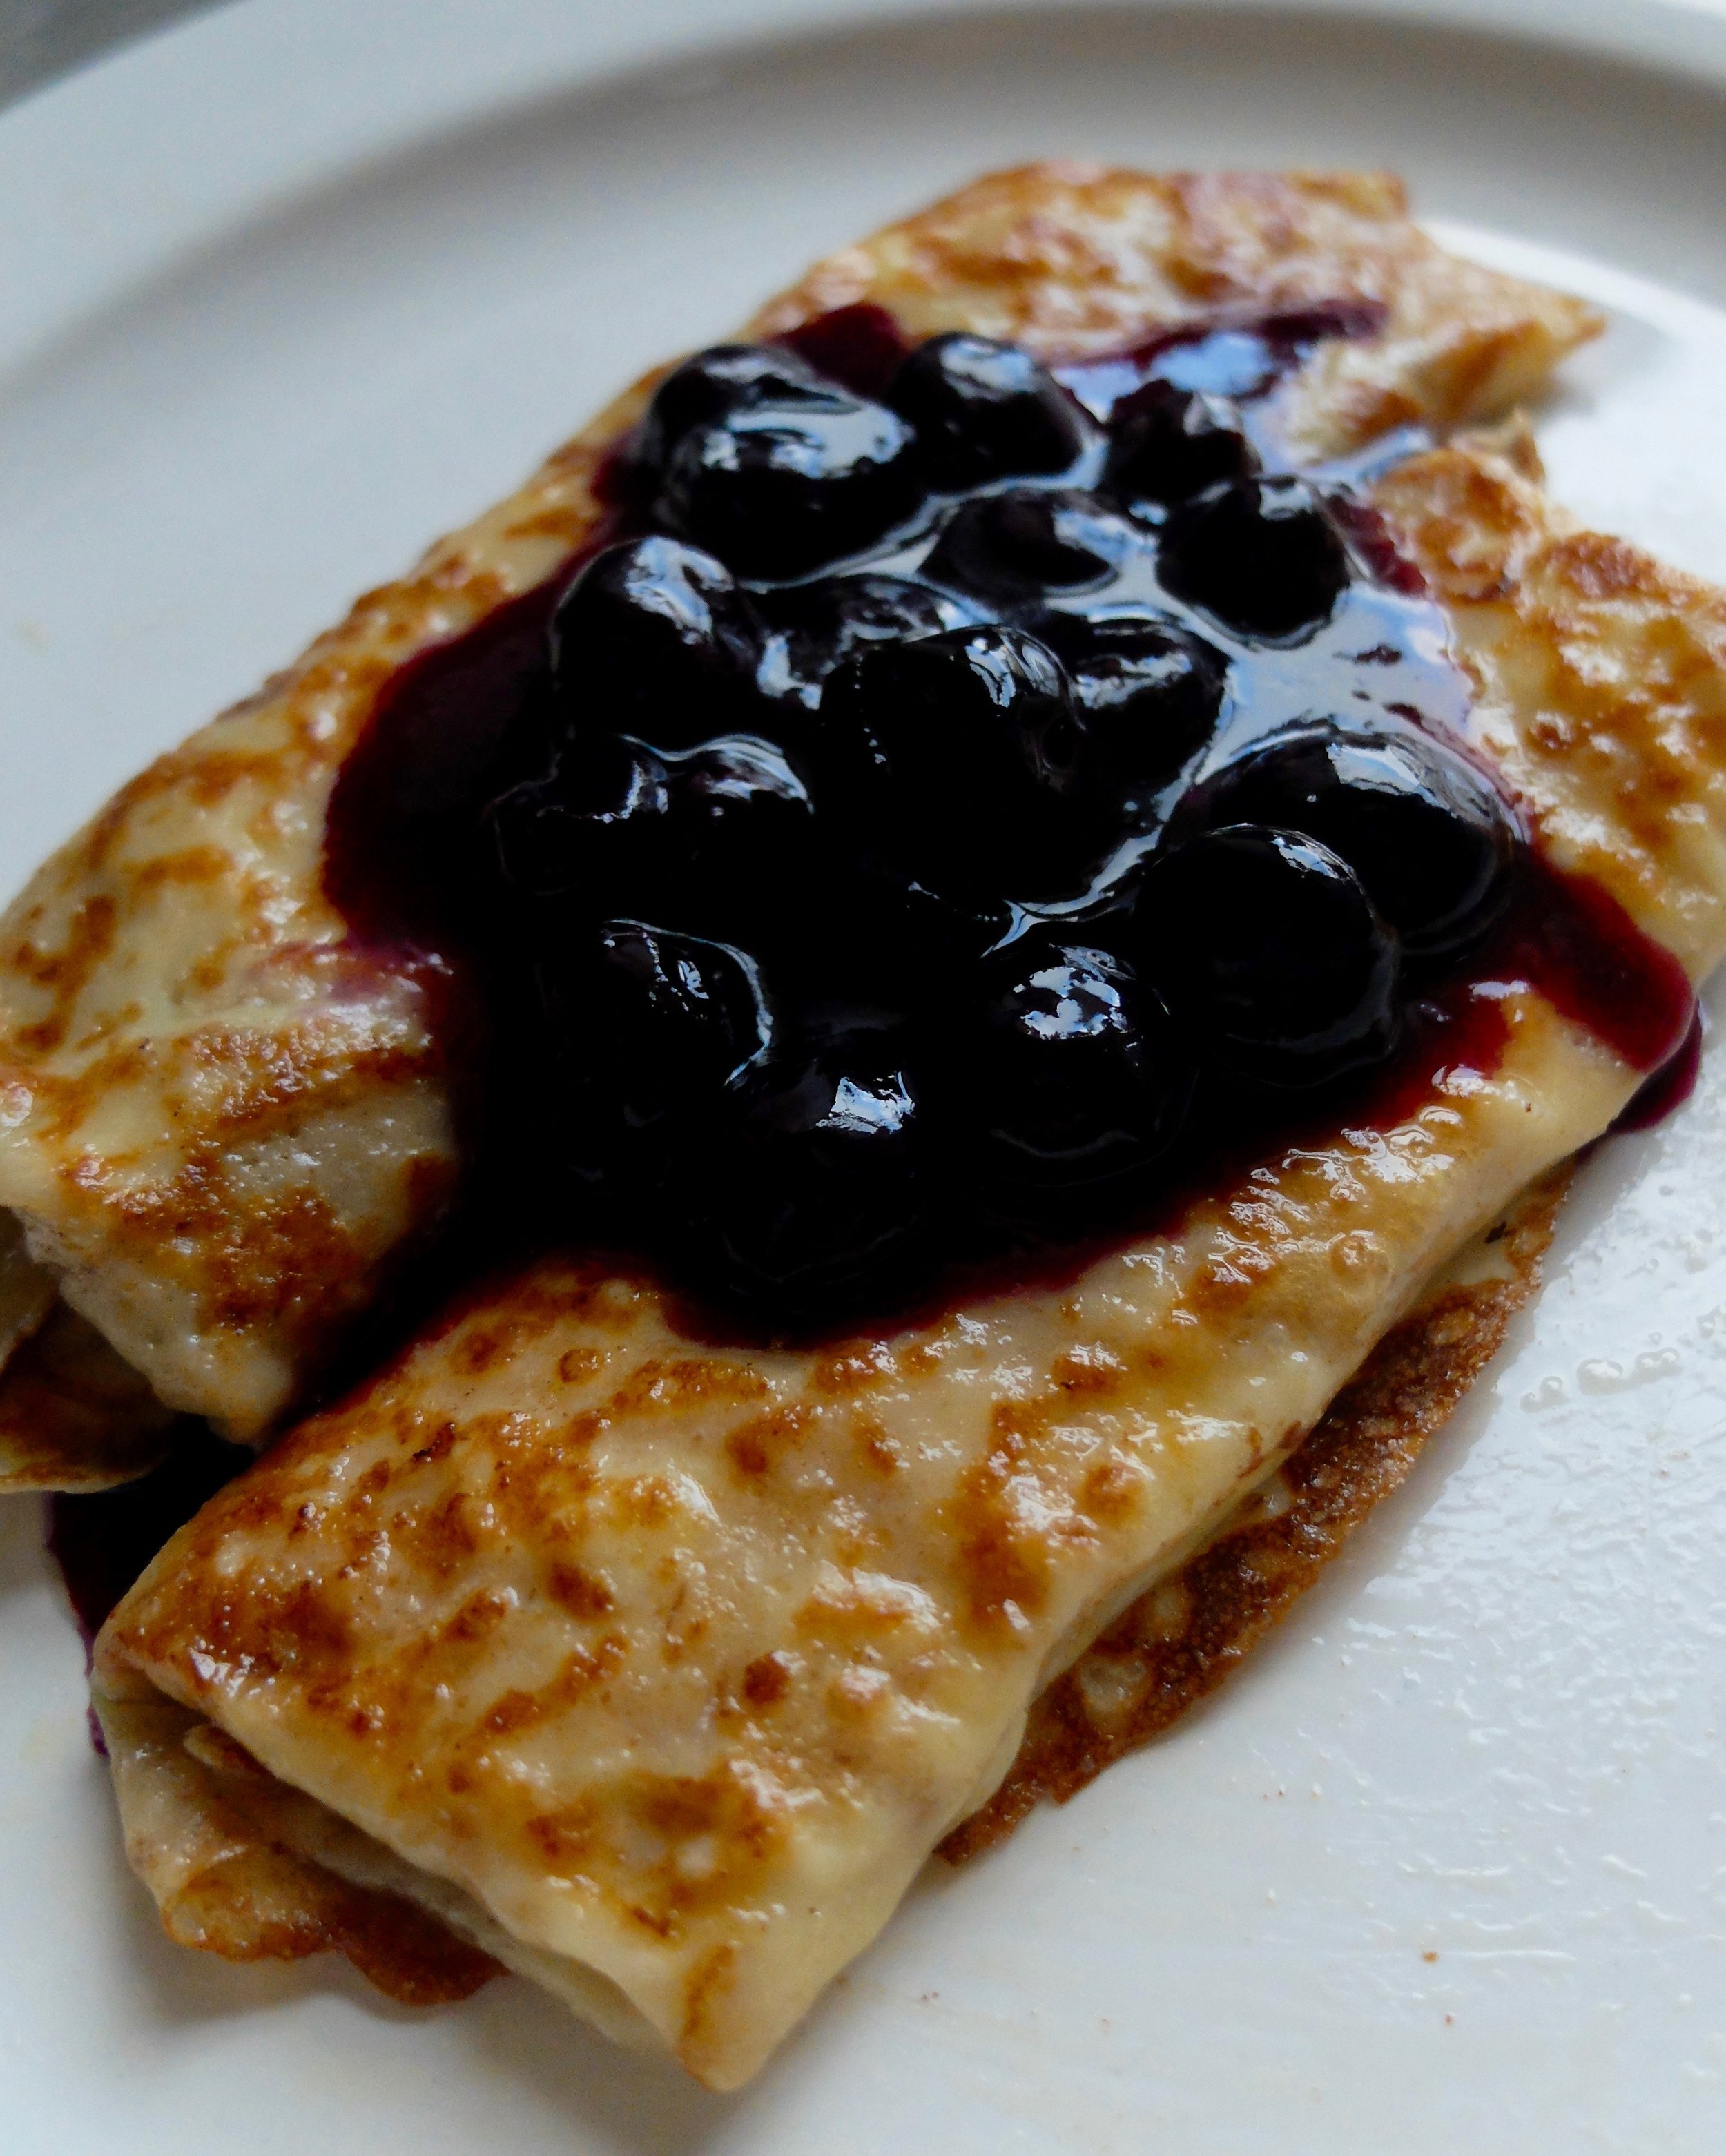
Blintzes with Blueberry Sauce
/
I got married to a pretty awesome guy six years ago yesterday, and despite what the wedding industry will try to tell you, our story did not end there. Our wedding day was a great day, but there have been a zillion more great days for us since then, and we've accomplished way more as a team outside of that day than we accomplished on it.*
But this week also marks NINE years since Judson and I met and started dating, which we're both pretty proud of. We've officially been together for over ¼ of my life and nearly ¼ of Judson's AND for half of that time, we've lived in Scotland. From here on out, more of our relationship will have taken place in Edinburgh than in the US, and I'm pretty thrilled to have hit that milestone. To celebrate six years of wedded bliss (and sometimes less than bliss but still pretty great times), I made us blintzes. These have been on my radar for ages, but since they involve three separate recipes (wrappers, filling, topping), I figured I'd wait until we had a special occasion. And then I waited through like three special occasions because there are a lot of ingredients to make these and, well, I was busy.


But when you're married to a man who is indifferent to dessert and hates frosting AND you've already made the two fanciest meals you can think of for anniversaries number 4 and 5, it's time to get creative. I made these for dessert, but if you're really into difficult-but-luxurious breakfasts, they would also make an amazing weekend celebration breakfast for your next birthday, mother's/father's day or anniversary. Either way, swallow the hesitation I know is coming when you see how much dairy this recipe requires and make these soon, because they are delightful.
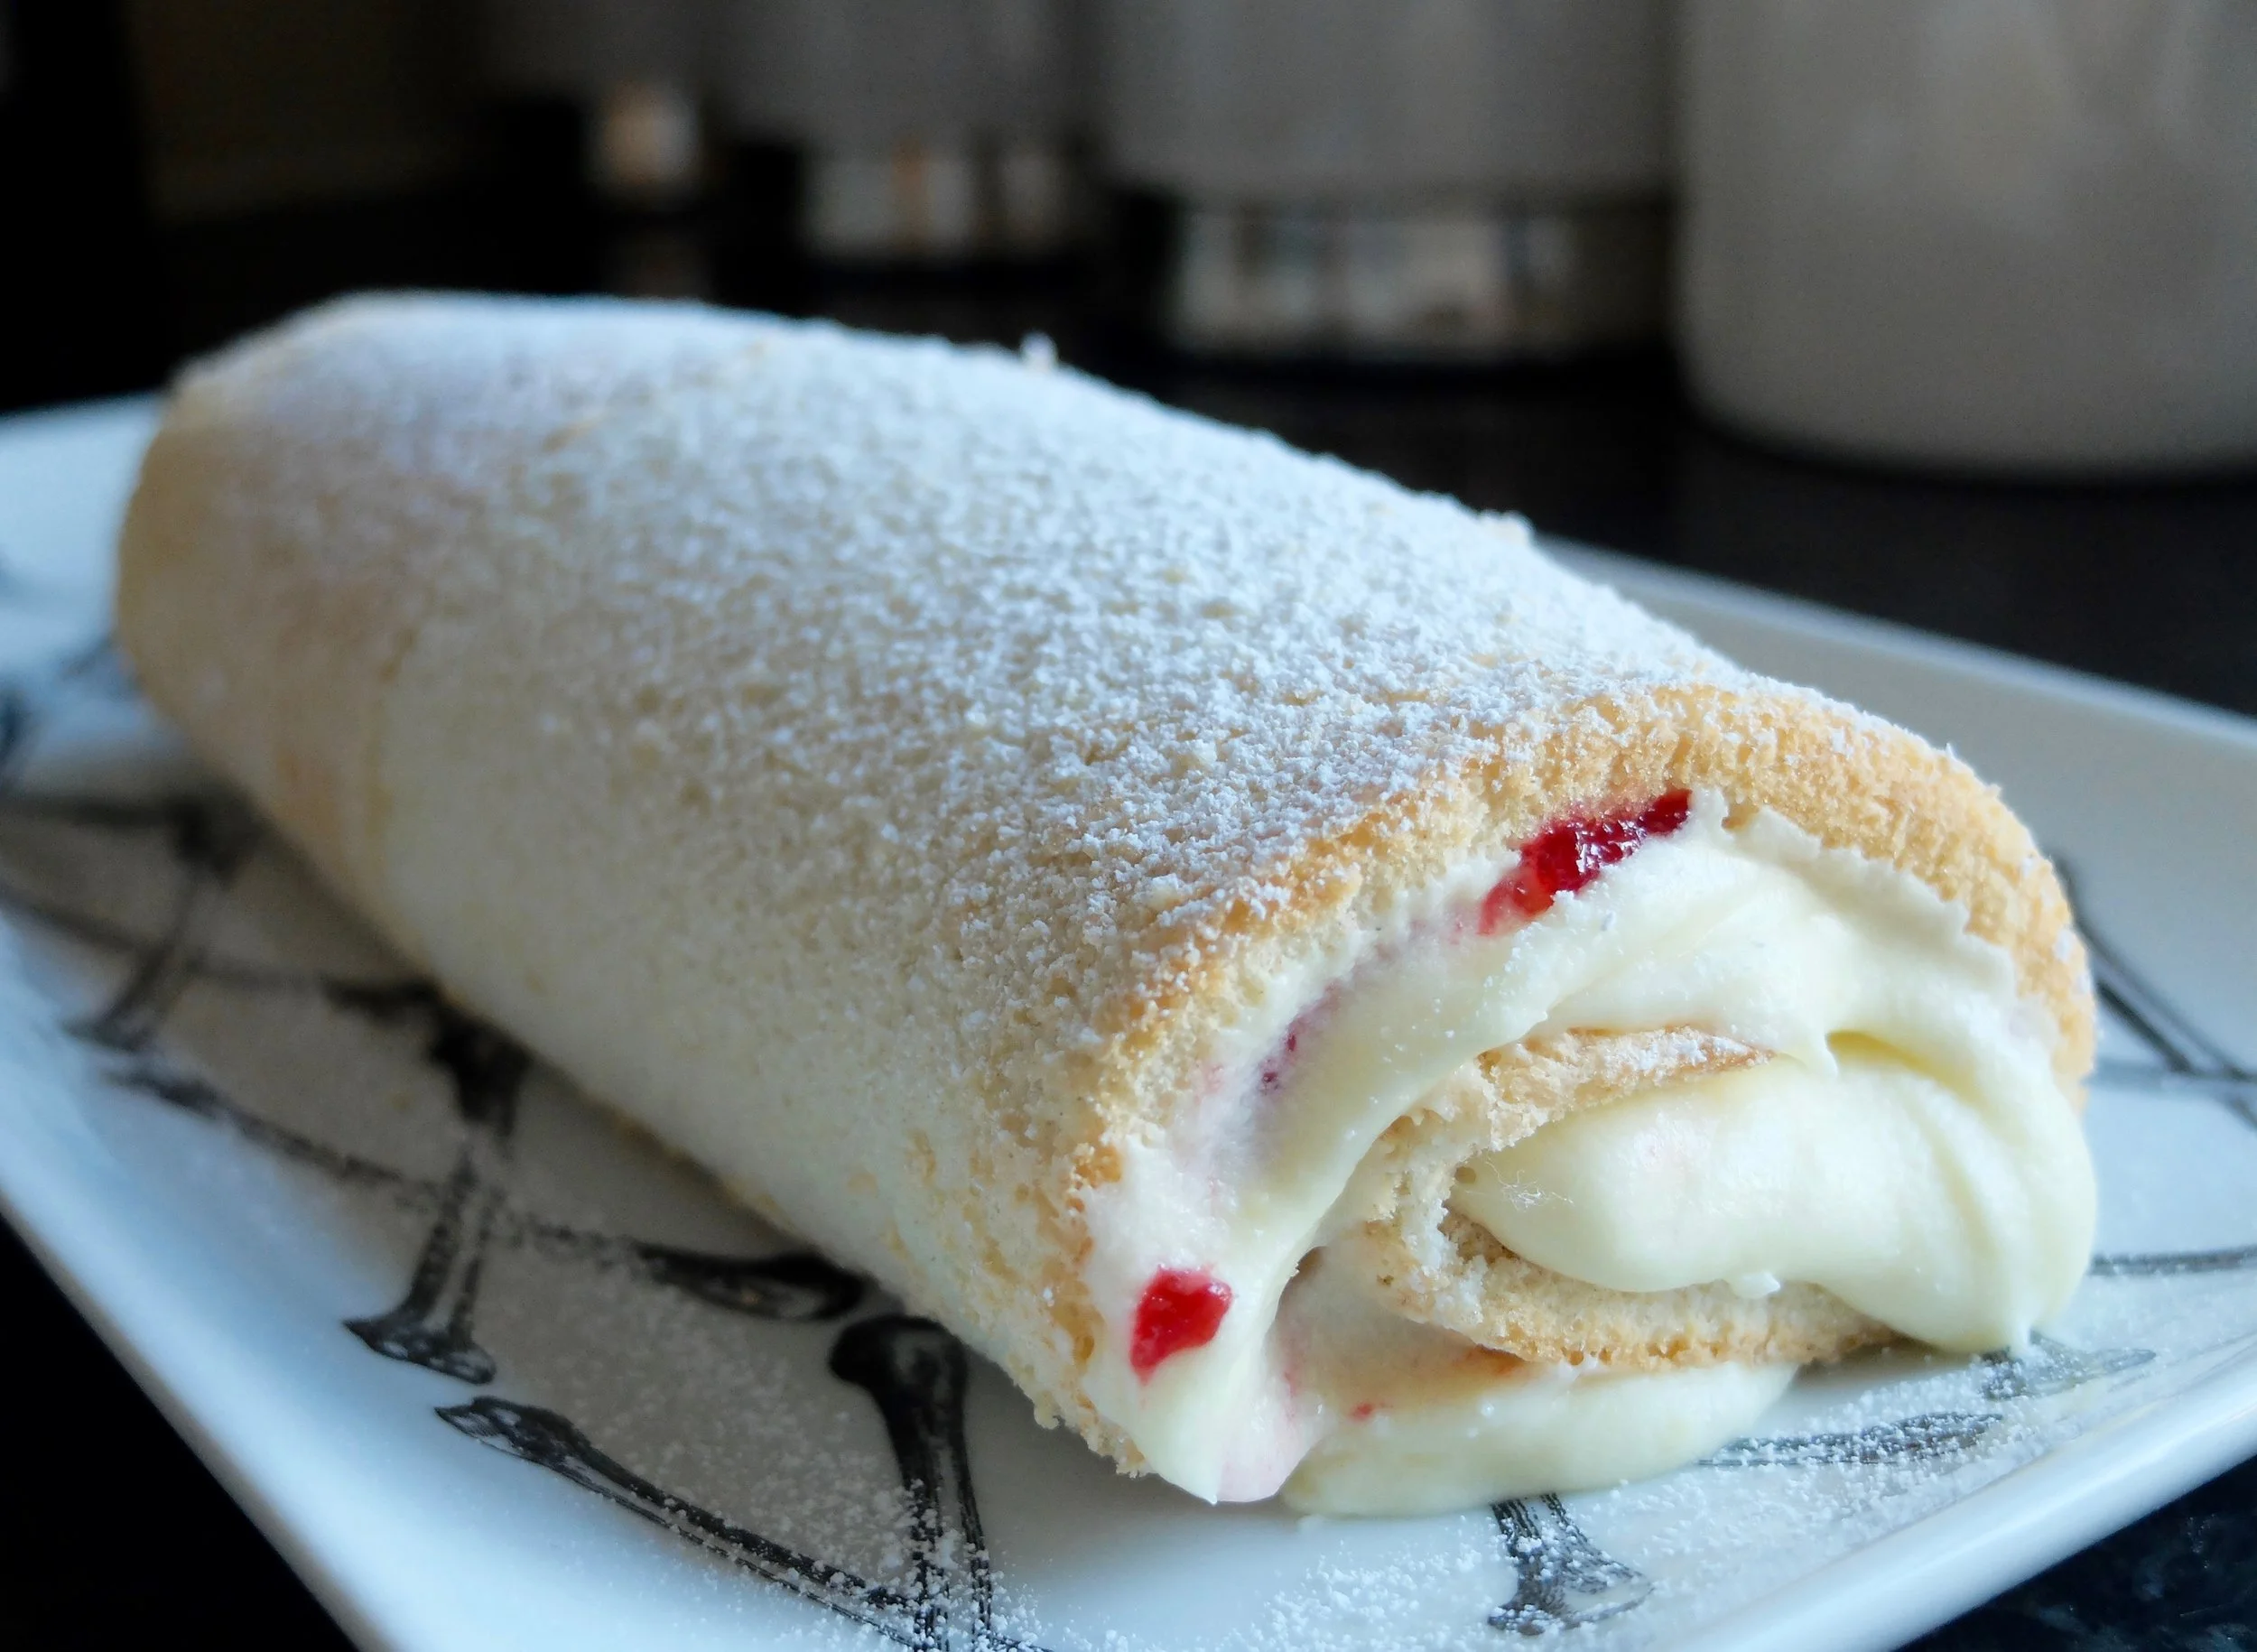
If you've never had a blintz, think fluffier crepes, bursting with a sweet danish-like filling and topped with a barely sweetened fruit compote. If you can get your hands on peaches, try making a peach topping in lieu of blueberries, or to make the whole recipe a little easier, swap the fruit compote for whatever your favourite flavour of pie filling is (cherry would be phenomenal here). We've made (slightly more controversial) blintzes in the Recipe Box Kitchen before, but these are the ones to which I'll return because, come on, who needs a diet blintz?
*Also like 90% of the time the weather is better than it was that day so that's also nice.
The verdict:
5 spoons out of five. Worth the effort, and I think you'll agree.
One year ago: Mocha Cake with Caramel Frosting
two years ago: Walnut Butter Cookies
three years ago: 3-ingredient easy bread
the recipe:
Blintzes with Blueberry Sauce
the directions:
blintzes:
At least one hour before cooking, make the blintz batter: combine egg, milk, flour, sugar and salt, beating until very smooth.
Refrigerate while you prepare the filling and topping.
Filling:
Whisk together cream cheese, sugar, lemon zest and cottage cheese until smooth, then set aside.
Topping:
Combine sugar and cornflour in a small saucepan and break up any lumps of cornflour before heating.
Heat over low until mixture is clear and thickened slightly.
Add water or orange juice and continue stirring.
Fold in blueberries over low heat, stirring gently.
Add lemon juice and stir once more to combine.
Assembly:
When ready to make blintzes, use the butter to lightly grease a small pan and heat over medium-low heat.
Pour about 2 tbsp of batter into pan and quickly rotate pan so batter spreads evenly over the bottom.
Brown lightly on underside, then turn out WITHOUT cooking the top of blintz.
When all of batter is used, spoon about 1 ½ tbsp of batter into the centre of the COOKED side of the blintz.
Fold left and right edges of blintz over filling and roll up starting from the bottom.
Melt remaining butter in pan and brown filled blintzes, a few at a time, turning as needed to ensure even browning.
Serve warm with sour cream and blueberry sauce.
the ingredients:
the blintzes:
1 egg
½ c (120ml) milk
3/8 c (45g) flour
1 tsp sugar
1/8 tsp salt
3 tbsp (42g) butter
the filling:
3 oz (80g) cream cheese
1 tbsp sugar
¼ tsp lemon zest
1/4 c (60g) cottage cheese, blended until smooth
the topping:
6 tsp sugar
1 ½ tsp cornflour (cornstarch in the US)
¼ c (60ml) water or orange juice
5 oz (140g) fresh or frozen blueberries, thawed
1 tsp lemon juice
¼ c (60ml) sour cream